Massage-Booker — A Friendly Guide
Your booking site, one calm step at a time. Follow along with your guide.
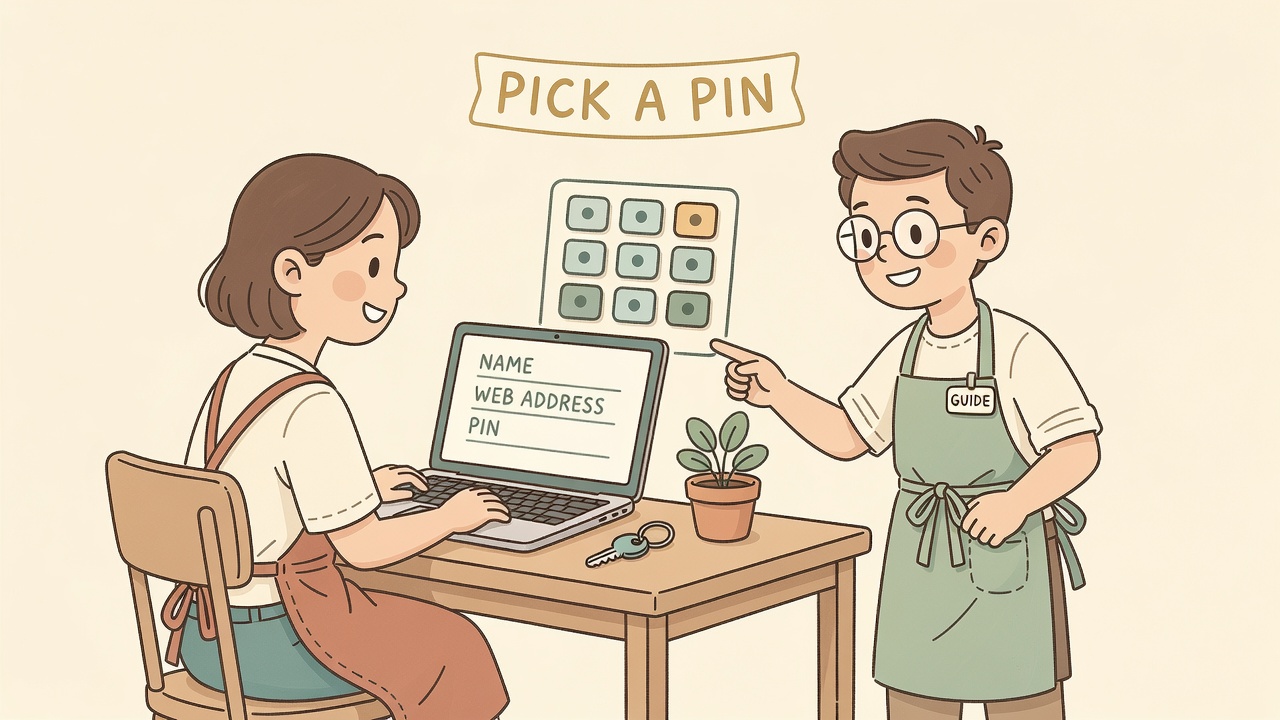
1 · Create your site & sign in
One short form sets up everything at once — your owner account, your shop, and a free trial. No credit card to start, and you can be taking bookings in about five minutes.
Steps
- Go to www.massage-booker.com and tap "Create your site."
- Fill one form: your email + a password (this becomes your owner login), your shop name, your web address (like jade-springs), and a front-desk passcode (a PIN like 4821, or a word only your staff know).
- Tap Create. Your booking page goes live right away on a free trial — one week by default, or three months if you signed up from one of your promo / QR cards. No card needed to begin.
- Two logins, two jobs: staff type the front-desk passcode to open the day grid at
/your-shop/admin; you sign in with your email + password at/account, where billing and all your shops live. - To keep your shop after the trial, add a card in Billing — otherwise the public page goes dark until you do. The trial covers one shop; adding more shops needs a card.
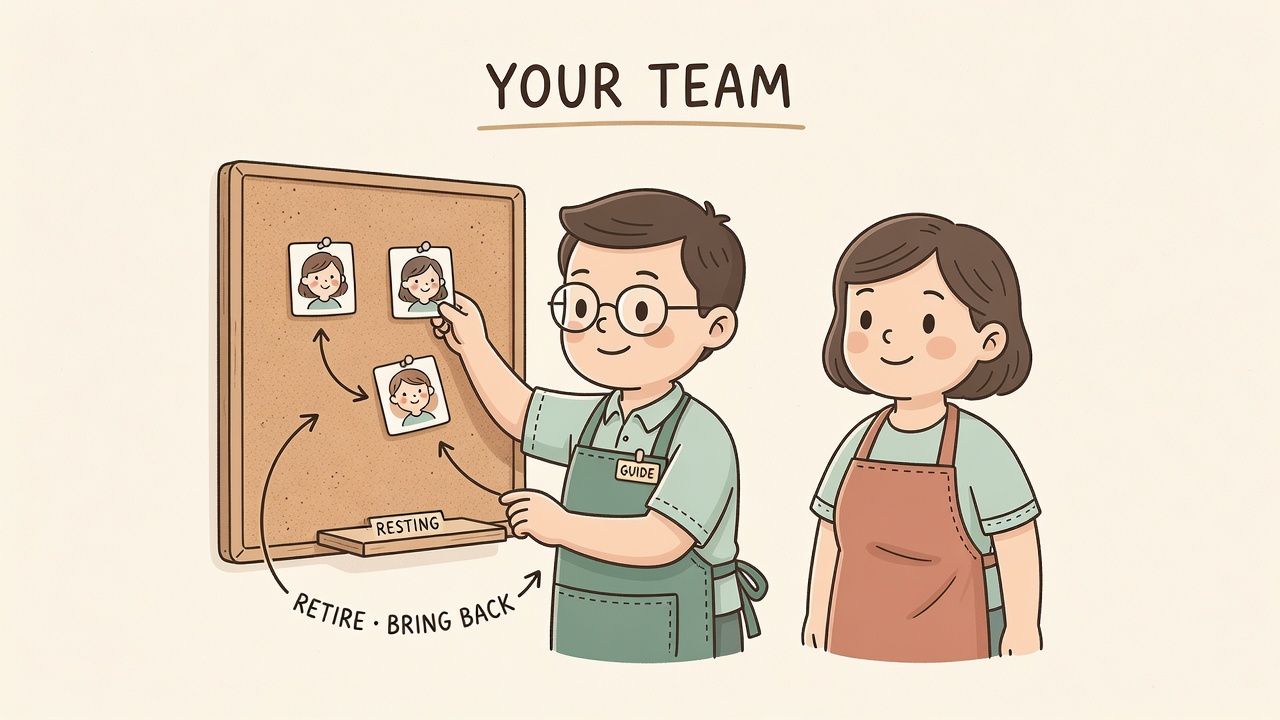
2 · Add your team
Add each therapist once. Nobody ever gets deleted — people rest and return.
Steps
- Open the Staff tab and tap "Add."
- Give a name, a short specialty or bio, and a photo — upload a file or just paste one (it resizes itself).
- Set their start date; in staff mode, set the break gap kept between sessions.
- Taking time away? Tap Retire — they stay on file, hidden from customers. Tap Bring back when they return.
- Hiring soon? Add them as an "arriving soon" card with an arrival date.
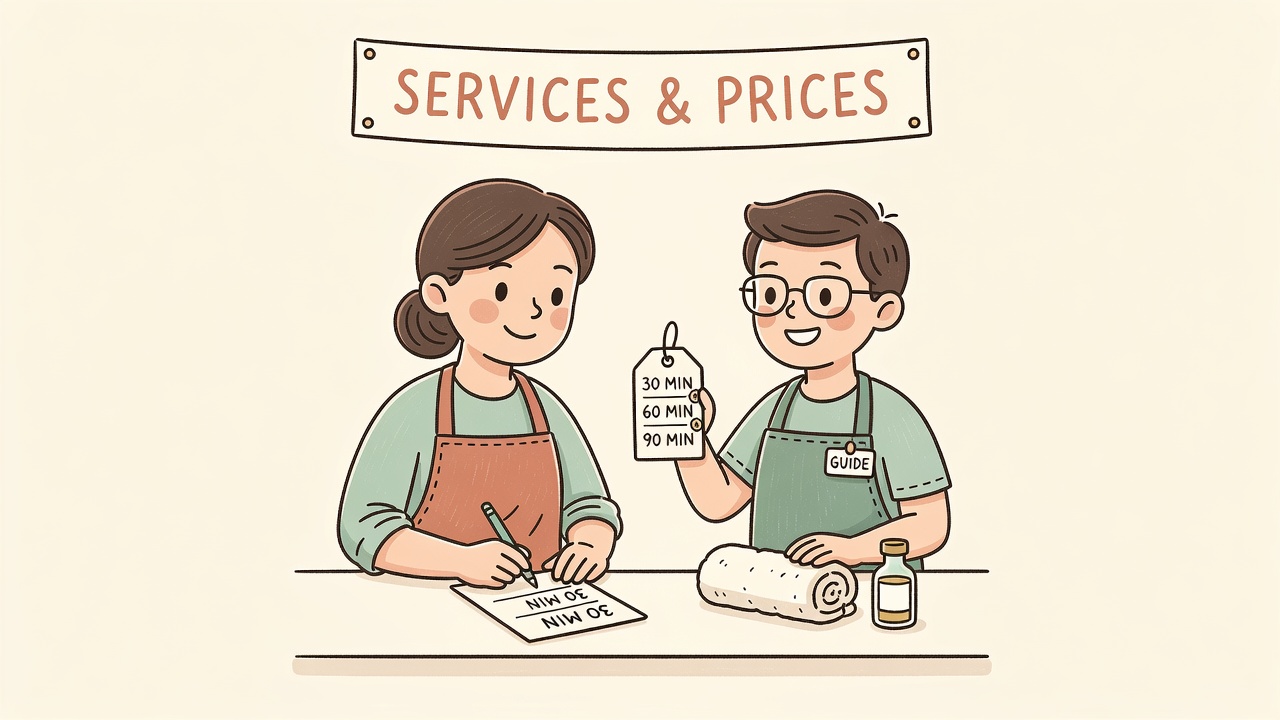
3 · Set services & prices
List what you offer and what it costs. Change it whenever you like.
Steps
- Open the Services tab and add each service: a name, a length (30 / 60 / 90 min), and a price.
- Reorder or edit any time. Removing a service only hides it — past bookings keep their names.
- Give each therapist their own list if they differ.
- Four-hands only offers lengths both therapists share, so prices always line up.
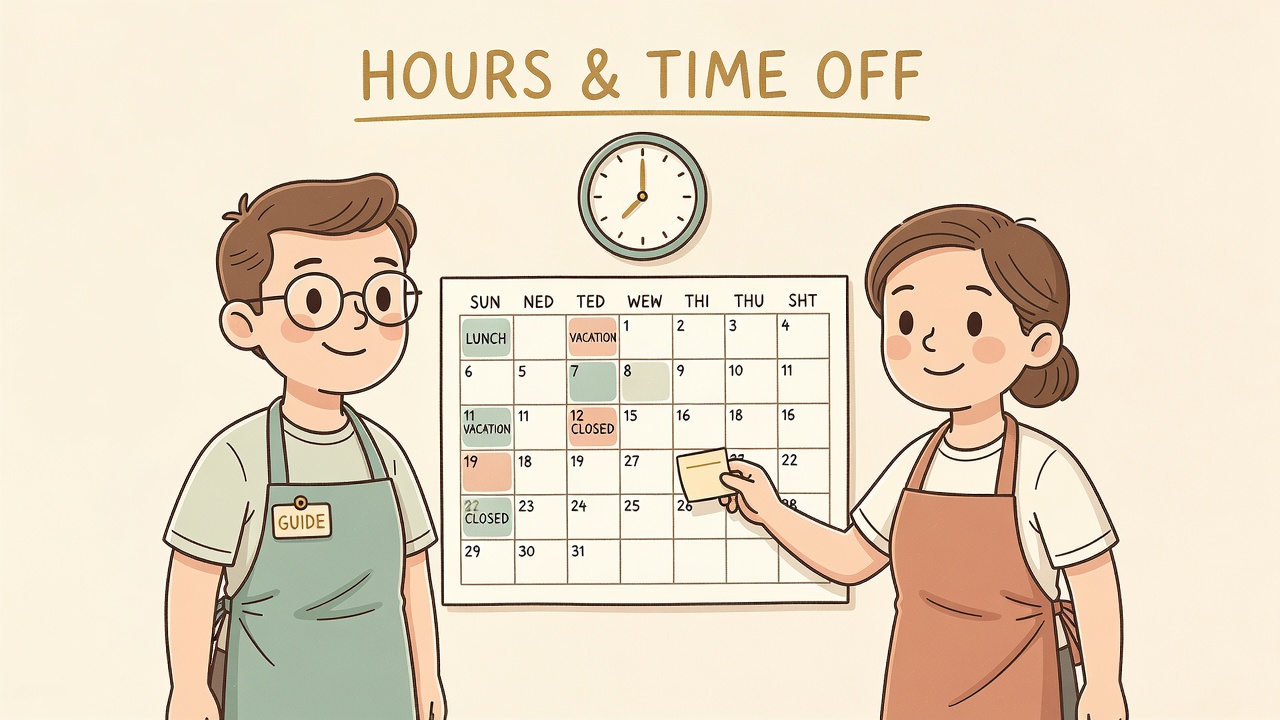
4 · Hours & time off
Set when you're open, then block out lunches, sick days, vacations and closures.
Steps
- Open the Hours tab and set your weekly opening hours (and room capacity, in room mode).
- Shortest notice for online bookings stops customers booking a time that starts too soon (15 minutes unless you change it; pick “None” to take bookings right up to the start). The front desk can always book.
- Add time off: lunch, a break, a sick day, a vacation, or a whole-shop closure.
- Blocks can be for one person or the whole shop; one-off or repeating; all-day or a time window.
- Customers can't book over a block, and the day grid shows it as a soft hatched band.
- Whole-shop all-day closures show on your public page — dates only; your notes stay private.
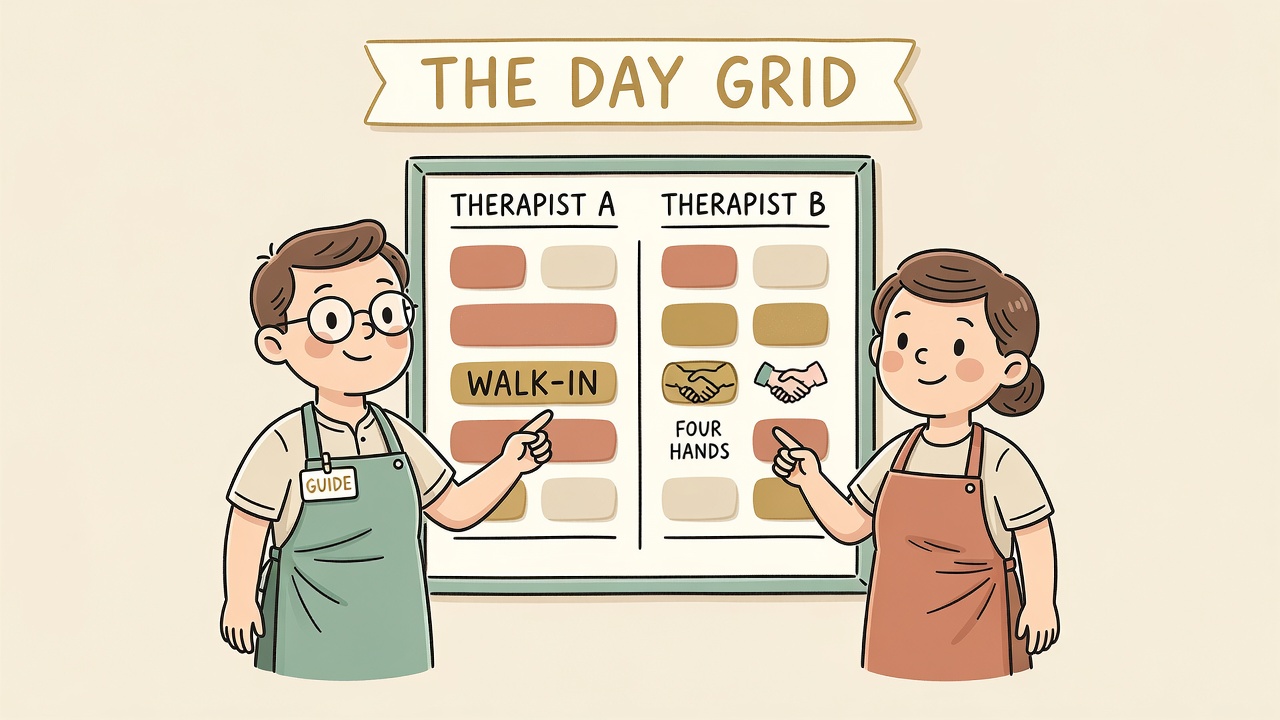
5 · Your bookings
The Bookings tab shows one day at a time — a column per therapist — plus a week list and a month calendar. Tapping is all you do.
Steps
- Use the ‹ › arrows to step through the days and Today to jump back. Week lists the next seven days' bookings, and Month shows how many each day has. Tap a day or a booking to open it.
- Tap any booking to open its editor: customer, phone, service, time, therapist, note, code, Confirm, Cancel.
- Tap an empty slot to create one, pre-filled with that therapist and time — perfect for a walk-in.
- Public bookings arrive as "pending" (they hold the slot) until you tap Confirm.
- Four-hands? Pick two therapists (or "first available pair"); both confirm and cancel together. ⚠ flags any overlap.
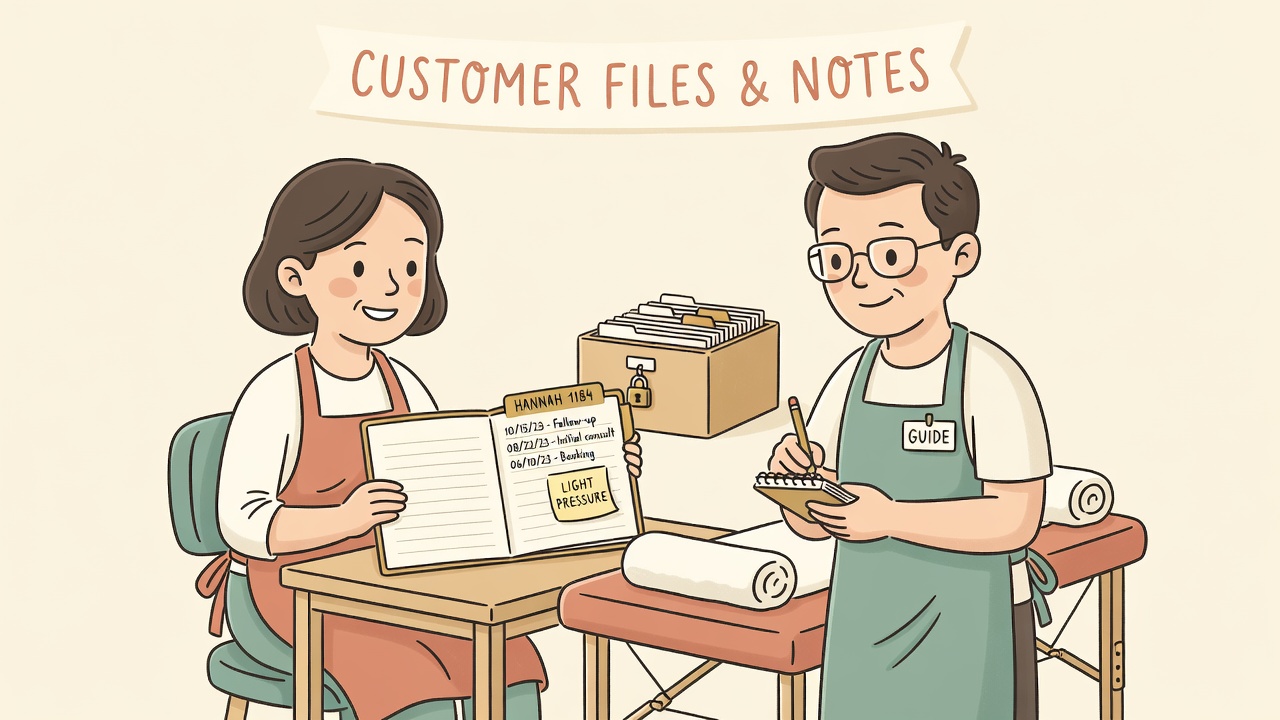
6 · Customer files & notes
Each customer's visits, standing details and your notes in one place — private to your shop.
Steps
- Every booking with a phone number lands in a customer file. Open a booking to see whose file it is, which visit this is, what they had last time, their standing details (pressure, areas to avoid, health notes) and your latest notes — then add a note about today's session.
- The Customers tab finds anyone by name, phone, the last 4 digits of their phone, email, or booking code, and shows every visit and note. Typing a name or the last 4 digits while you book offers their file too. Notes stay private to your shop — customers never see them. Don't need it? Untick Keep customer files and notes on the Hours tab.
- Booked under the wrong file? Open the booking and tap Not them? Change (or Unlink). Two files for one person? Open one on the Customers tab and use Merge to fold it into the other — later bookings go to the right file.
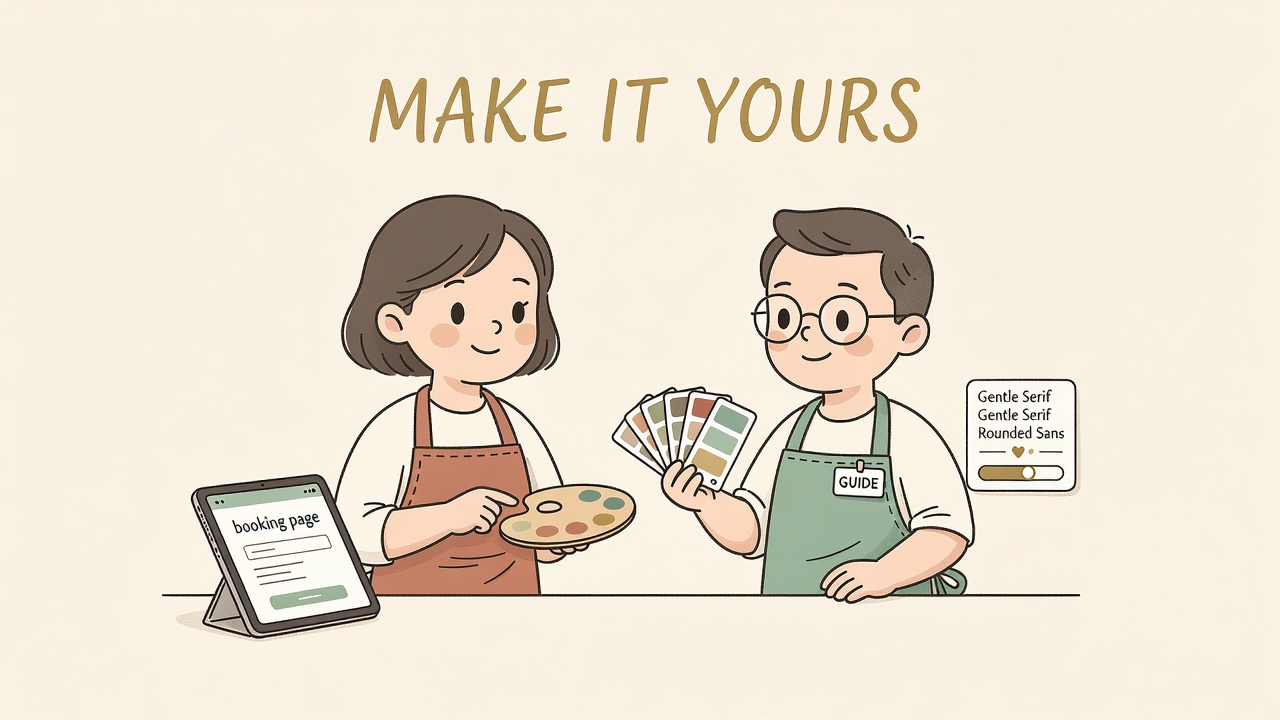
7 · Make it yours (look & feel)
Pick a look in seconds, design your own, and add your logo — your page, your colors.
Steps
- Open the Tools tab — your look & feel panel — and pick from 50+ built-in themes; the swatch picker applies live to your dashboard before you Save.
- Want your own? Open the theme maker: colors, a font, corner roundness, and an optional emoji beside your name.
- A readability report flags any hard-to-read combo and fixes it with one tap.
- Try "Surprise me" for a random palette, or copy/paste a theme code to share a look.
- A live preview shows your customer page as you tweak. Only you change the theme — visitors never see a switcher.
- Add your logo here too — a PNG or JPG that shows above your shop name on your public page. Leave it empty to show just your name.
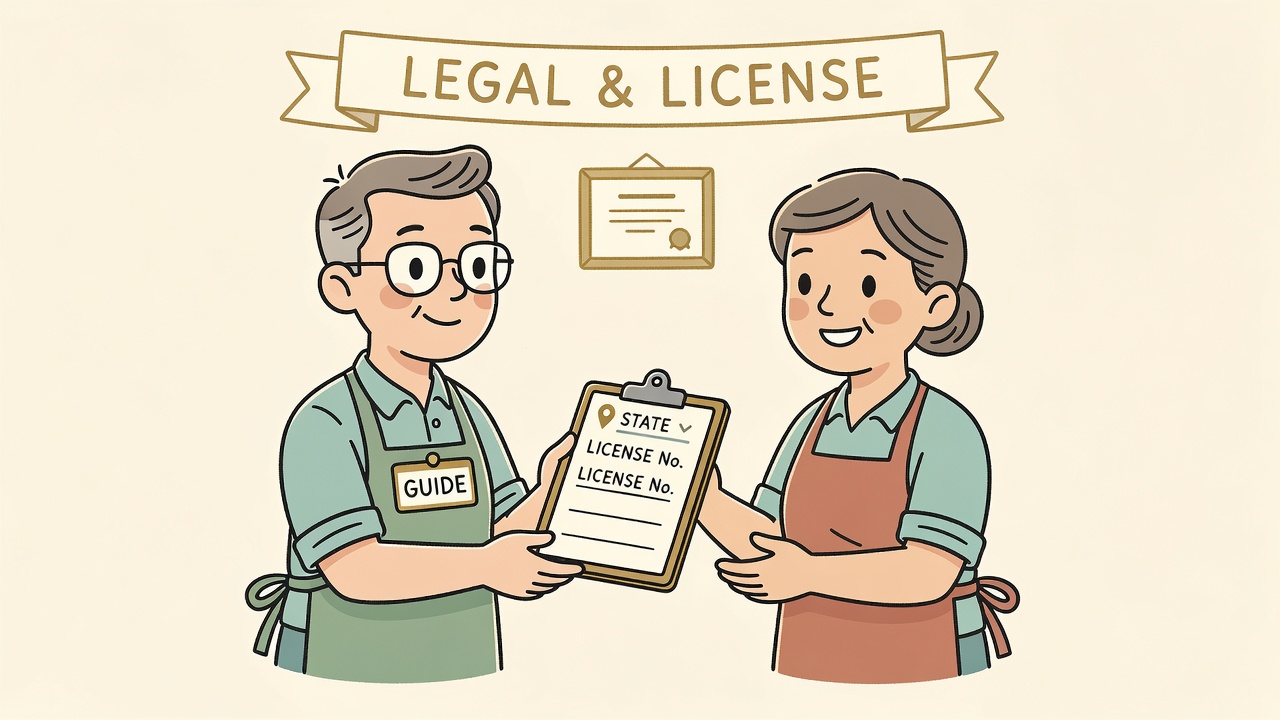
8 · Legal & license
A minute here keeps you compliant and builds trust with every guest.
Steps
- Open the Legal tab.
- Pick your state — the right disclosures and rules follow automatically.
- Enter your license number(s) so they appear where they're required.
- Keep them current; massage is a licensed trade and guests notice the care.
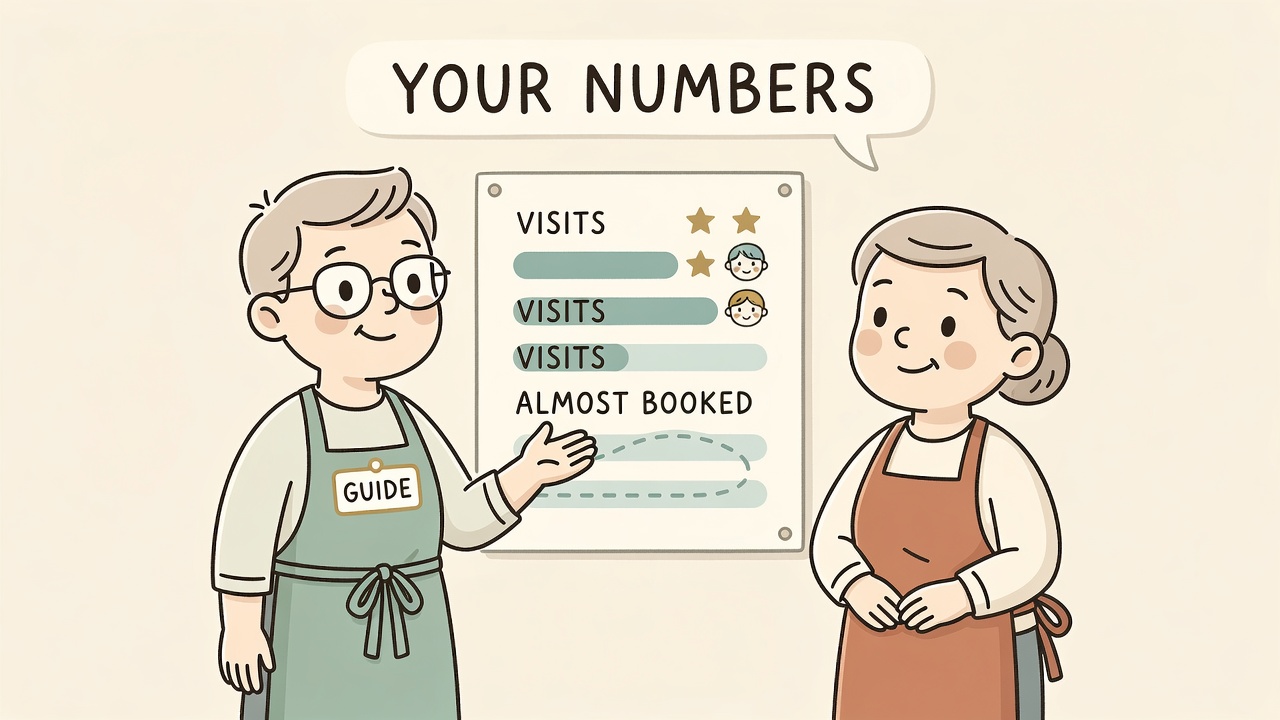
9 · Read your metrics
A calm, private read on how your page is doing — no third parties, no tracking cookies.
Steps
- Open the Metrics tab.
- Visits: how many people looked at your page.
- Therapist taps: which therapists people reach for (including "First available").
- "Almost booked": bookings that just missed — often a slot taken while someone typed. That's where to add hours.
- Everything is first-party and private: no stored IPs, no cookies.
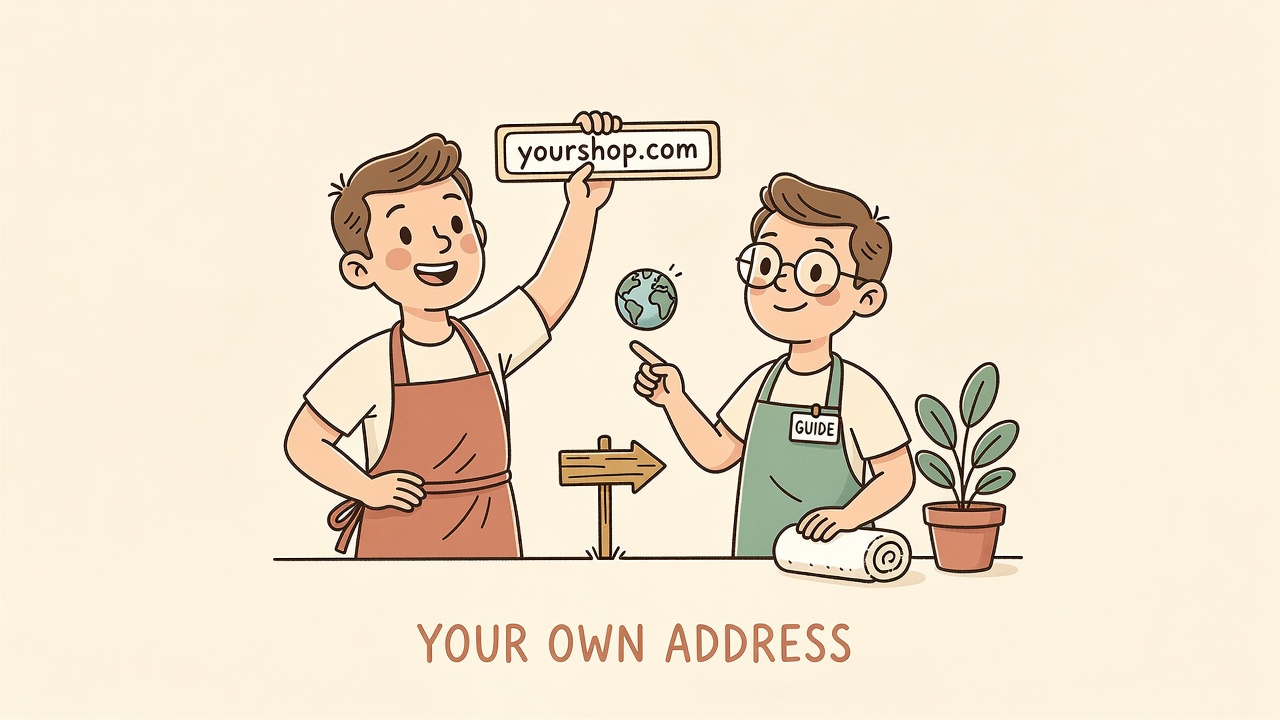
10 · Your own web address
You get a friendly address free — with a QR code and share-ready links — and you can bring your own domain.
Steps
- Every shop gets a free address:
your-shop.massage-booker.com(and/your-shop). - Share it anywhere — it's ready the moment you sign up.
- The Tools tab lists your public addresses —
your-shop.massage-booker.comandmassage-booker.com/your-shop— as clickable links to copy and share (your dashboard link sits there too, just for you). - It also gives you a QR code for your booking page — download it as SVG or PNG and print it on your door, cards, or flyers.
- Have your own domain (yourshop.com)? Send it our way and we'll attach it — or, if you run your own DNS, the Tools tab shows the exact CNAME / ALIAS records to aim it at your site (a CNAME/ALIAS to
your-shop.massage-booker.com); add them, tell us, and we attach it and switch on free https. - Your page works the same whichever address a guest uses.
- The web address is free. The shop itself starts on a free trial, then a simple plan keeps it online — add a card in the Billing tab before the trial ends.
Good to know · walk-ins, confirming, emails & codes
The little front-desk questions that come up.
Steps
- A walk-in? Open the day grid, tap an open time on the right therapist, and add the booking on the spot — just like a phone booking. It appears immediately.
- Does confirming email the customer? Yes — if they left an email when booking, confirming (or the Confirm button in your booking email) sends them a confirmation with their door code, and cancelling emails them too. You choose exactly what goes out in Settings → Notifications.
- Want a heads-up? Turn on Settings → Notifications and each new public booking emails you with one-tap Confirm / Reject buttons — you can act right from the email, no login needed.
- What is a confirmation code? A short code the system creates for every booking — customers can't pick their own. They see it the moment they book (and can screenshot it); when they arrive, match it — or just their name or phone — to the booking on your grid.
- Lost the code? No problem — you can always find a booking by the customer's name or phone on the day grid.
- Customers can check their own appointment. With their code — or the View your appointment link in their email — they open
/your-shop/apptto see whether it's confirmed or cancelled, cancel it themselves, or send you a message. - A customer messaged you? You get an email and can reply straight from a link — no login. Your reply lands back on their appointment page.
- Phone-only for now? Turn off public online booking in Settings — your page still shows your hours, services and map, and the front desk still books everyone in on the grid.
You're all set
That's the whole tour. Come back to any tab any time — nothing you do is ever permanent, and your guide is always here.